Let me introduce you to my new friend, Jenny. She is a gem! If you had even 5 minutes with her in person, your stomach would hurt from laughing so hard.
She recently introduced a “new to me” concept called, canning. I remember helping my Grandma can in the late summer months to preserve the harvest from her garden. To this day, October is my favorite time of year, especially because my parents harvest all of the apples from their trees to turn it into the best tasting applesauce on earth. Seriously, I could eat an entire quart myself.
As my kids get older and life gets even more full with adventures, work and fun, I’m always looking for ways to continue to feed my family healthy, nutrient dense meals that are cost effective and time efficient. Thus, I asked Jenny to share all about my new favorite activity in the kitchen…canning!
We also have a special gift for you, so be sure to read all the way through to the end!
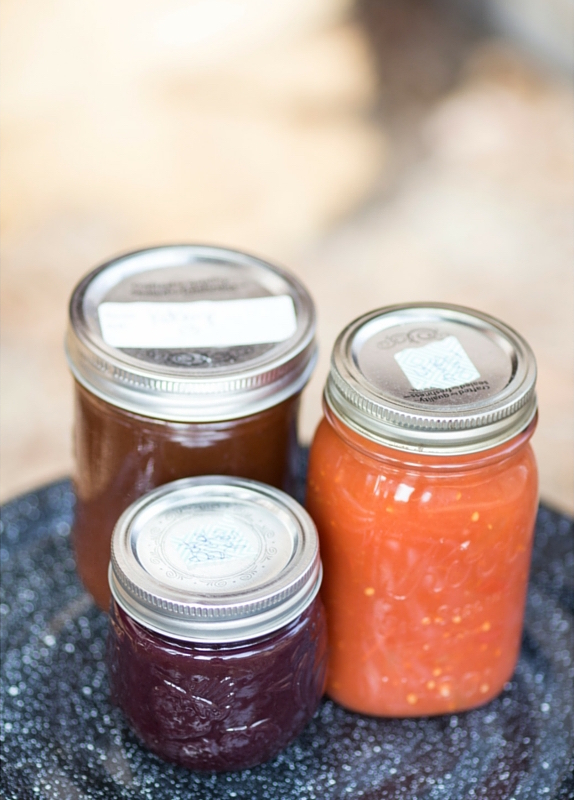 I’m Jenny, and I love sharing homemade food and craft with my blog readers at www.thedomesticwildflower.com. I made friends with Season at an essential oils party and our passion for wellness fits together so well that she asked me to share my passion for canning with her readers.
The 3 steps to canning for health and wellness is to
- gather the canning equipment,
- prepare the canning recipe, and
- to process the jars.
I promise it is faster and way more fun that you think!
Canning has a reputation as being time consuming, difficult, and dangerous. I’m here to share that it can be quick, easy, and safe.
Canning is right at home in a modern lifestyle and has made my working mom life much easier. Because I know how to can, I’m able to crack open a jar of tomato sauce (that’s already cooked – hello convenient!) that has only a few ingredients – tomato, garlic, onion, and salt – and top pasta or add it to Mexican dishes, or make it into tomato soup…and it still counts as a vegetable.
It’s still officially ‘processed’, but far less heavily processed than anything you’d buy from a grocery store shelf. The bright red color and fresh tomato smell tell me that it is far superior to store bought sauce that is far more expensive with fewer remaining nutrients. And, it tastes better!
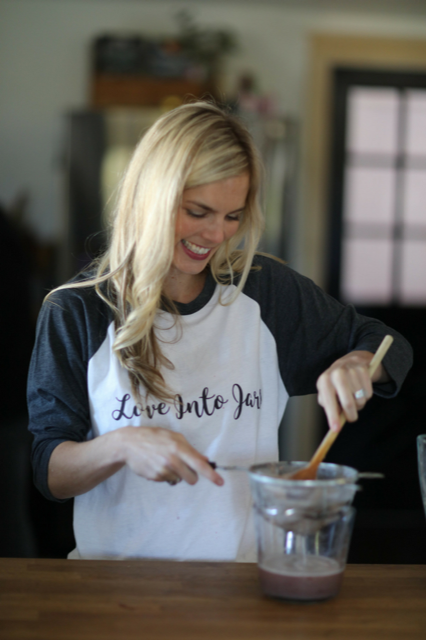
Canning saves me a ton of time.
You might remember grandma or great grandma canning ALL DAY LONG…I never can like that.
Who has all day?!
I can in smaller batches. I like to break recipes into 2 or more steps so I can cook or prepare the preserve (the salsa or the jam, for instance) in one step, while my 4 year old is coloring. Then, I can it in mason jars while my supper is in the oven a few hours later.
I rarely have moments where I think “We have NOTHING to eat!” because I always have jars of applesauce for the kids (no sugar – don’t tell on me!), carrot pickles to snack on, roasted peppers to dress up a hot sandwich when it’s my husband’s night to “cook,” jars of tomato sauce (THE most versatile thing I can – period!), whole-fruit jams for sandwiches and breakfast, and canned fruit for smoothies.
I like to tell newbies that canning is cooking in advance because it truly is.Learning to can will stock your pantry with foods that nourish your family that are stored in BPA free glass jars and are shelf stable for a year.
Canning is a simple process.
Hot food (jam, salsa, pickles, sauce, etc) goes into hot jars. Then, hot jars go into hot water to process for a set amount of time.
You don’t have to understand the scientific principles behind canning if you understand this simple rule: Follow the directions of a trusted canning recipe.
Many beginners fear canning because they think they will have to get a ton of complicated, space-hogging equipment to do it.
Here’s the no-frills list of what you need!
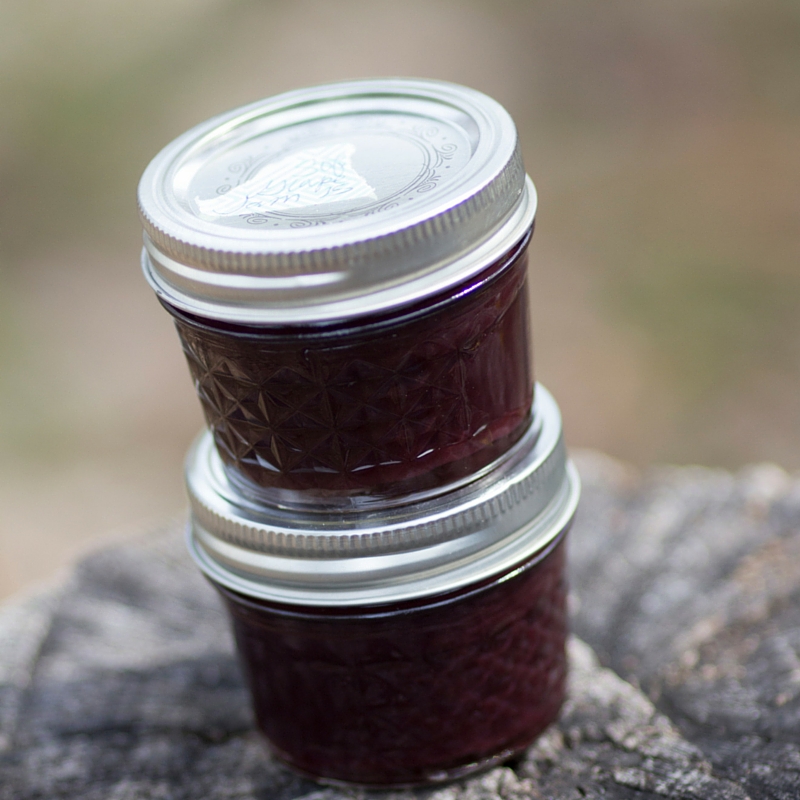
Canning Equipment
- The first thing you need to begin canning is a canning pot. These are often the black with white speckled enamel pots that are really large and are frequently sold with a wire rack inside. You don’t have to have a huge pot. If you are a single person or a small family (read: not canning to feed a small army) a pasta pot will work just fine. The pot will need to be taller than the tallest jar you plan on processing (that means sticking inside the pot, upright) by at least 3 inches. The beauty of a smaller pot is a shorter time for the water to boil. This can be very helpful indeed. Your pot doesn’t need a lid, though the water will come to a boil faster if you do.
- In the pot you will need either a rack made of wire or a silicone trivet. The silicone trivet + pasta pot is my favorite combo.
- You need a preserving pan. This is the pot/pan you will cook the fruit or vegetable in before you pour it into the hot jars. It can be similar to the water bath pot, but it would likely be a pan you already own that is heavier bottomed (less chance of scorching your jam or salsa) and can have lower sides.
- You need canning jars. These are not the glass mayonnaise jars that look very similar that are often found in garage sales. They are also not the reused store-bought pasta sauce jar. You need canning jars that are specifically created to withstand the heat of water bath canning. They don’t need to be new. Jars can be reused over and over for years. You should check the rims and the jars themselves carefully for cracks or chips.
- You need rings. They can be used but they should not be rusted.
- You need NEW lids. The seal that is created from the lid on the rubber flange is only good (read: safe) for one trip through the canning pot.
- You need tools to put the hot food into the hot jars. A utensil kit usually contains a funnel and a tong-like jar lifter. A funnel is necessary for pouring your boiling hot food into the very hot jar. The jar lifter is THE tool that you must have for getting the jars in and out of the boiling water that you probably don’t own already.
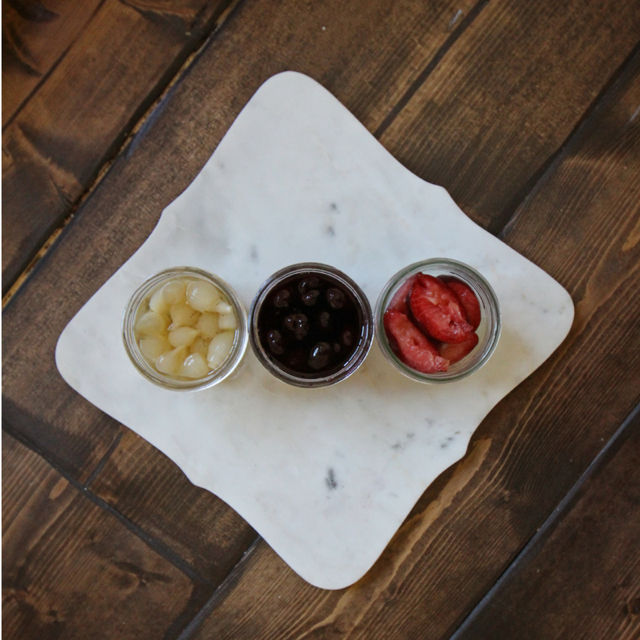
Now that you have all the stuff you need, you are ready to make your own homemade goodness.
First, you’ll set up your stovetop. THEN, you’ll cook your applesauce, or jam, or salsa, or whatever preserve you’d like.
Here’s How to Set Up Your Stovetop
- Assemble (5 minutes): A water bath processing pot, a wire canning rack (typically sold with the traditional speckled pots) or a silicone trivet for a stock pot. Also, gather the number of canning jars you’ll need (usually specified in the canning recipe), rings and NEW lids.
- Place a towel down flat on a nearby countertop. This will serve both as a temperature buffer and a soft resting place for your freshly canned jars. On the towel, place your funnel, jar lifter and ladle. Note: Since 1969, simmering lids in a saucepan to soften the flange has not been required. Just have the lids on the countertop with the rings. Also note, you don’t have to sanitize your jars as your jars will be in boiling water for 10 minutes.
- Prepare (5 minutes): Put the jars in the bottom of the pot and one by one, fill them from the faucet with water, and then fill the pot of water entirely, covering the jars. Place the pot on a large burner, preferably in the back, and turn it on high. Bring to a boil while you prepare the food you’ll be canning. If the water starts boiling vigorously, turn the pot to medium heat. Add water to the pot should the boiling cause too much water to evaporate and the water level to lower.
Then, you are ready to prepare your canning recipe!
Season and I want to bring you this time, money, and health saving skill. I know learning how to can feels overwhelming, and you might wish you had a canning-savvy friend to invite over so you could watch, STEP-BY-STEP exactly what do.
I’m that friend.
I’ve created a video course called Start Canning and it shows you every single step, over and over.
You’ll master tomato sauce, roasted bell peppers, jam & syrup making, and more. You’ll be able to apply what you learn to any canning recipe you wish all season long (oh, the puns! I can’t resist!)
Because Season and I agree so many of you would benefit from stocking your pantry shelves with healthy, homemade canned foods, you can use coupon code: SEASON to get 50% off the price of Start Canning.
In Start Canning, you have access to the videos any time, over and over. There’s an ebook accompaniment, and if you are stuck any time, you can reach out to me for help. I can’t wait to see you inside the course – remember, use code: SEASON to get 50% off!
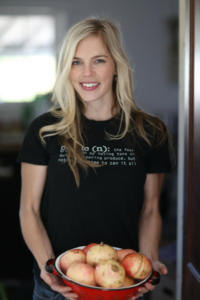 I’m Jenny Gomes (The Domestic Wildflower), and I teach beginners how to get started with homemade foods and crafts. Canning is my main focus for a large part of the year, and if you’d love to learn more about putting healthy, wholesome food into shelf-stable jars, head to the blog post about my free course right here.
I love to sew and crochet, and show newbies that those hobbies are easy and satisfying. You can check out the sewing category on the blog here and the craft category right here. I can’t wait to see you on the blog!








Leave a Comment